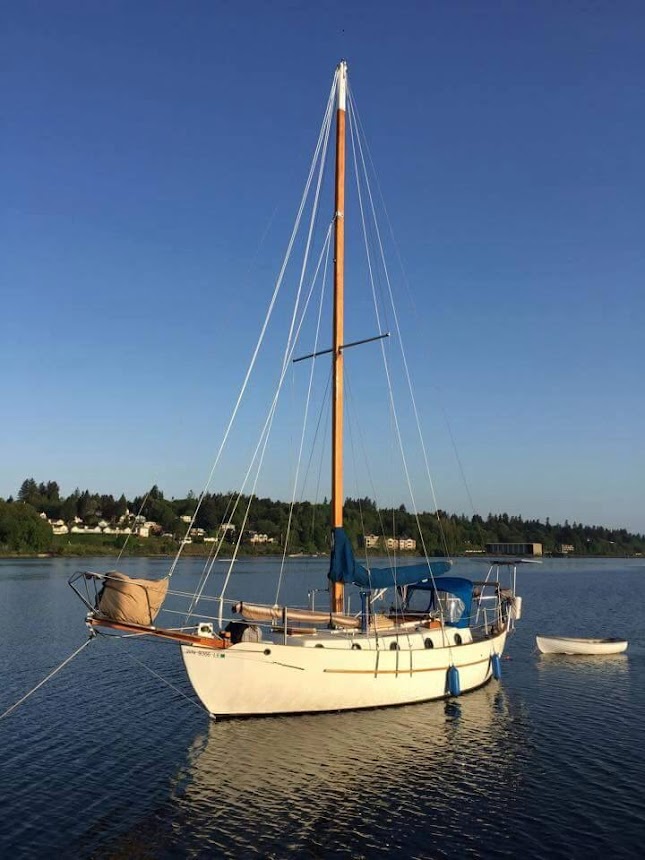
Our Boat

Our Boat
Westsail 32, s/v Harbinger
Showing posts with label Sewing project. Show all posts

Sunday, August 25, 2013

Sewing Project for Dock Neighbor


We are learning the sailor lifestyle and how to help neighbors out. Here at the marina, things are different, than in the city. Our neighbor gives us rides and goodies, like fresh crab, and we help him with mechanical and canvas stuff. The friendliness at the marina is addicting, many people offer to help and always say Hi or open the gate door while on gangway (a bridge to the gate from the dock).

Our neighbor needed a companionway cover, we talked about it and I offered to make it for him. He got the material and snaps, then I sewed it up. I took the measurements to make sure we had enough material, we only needed 1 yard. We also discussed which fasteners to use, the color thread, and where to secure snaps to companionway.

After all that, I used my freezer paper to draw a diagram of what the cover should look like size wise and with the lip at top, cut out for lock in the middle, and length/sides of cover. 

I made two pieces of material. The first piece was quite difficult to measure and sew for the lip. I used vinyl under the canvas to help it lay and grip around the lip. The second piece was easy, I just cut and sewed based on the trapezoid shape. I used a piece of Dacron at the top seam of the bottom piece, so I could leave a small opening for the lock, between top n bottom pieces. 


This picture was taken before I finished attaching the two pieces, (you can see the white Dacron showing between top n bottom where lock will be). I was measuring where to fix top to bottom. I like to staple the pieces together and keep trying them out to make sure it fits. Right before I did this picture I had to adjust the top piece over the lip and place a seam so it would lay flatter over the lip and more even, this was tricky. I'm always adjusting and readjusting, then measuring and remeasuring.

The finished product looks nice, covers the companionway, and we are all good neighbors!


Saturday, August 24, 2013

Sewing, Making Cushions Part II

Ok, here is my part II to making cushions. The first part was how I went about getting all my supplies to make the cushions and somewhat how I did it. Here I hope to show more in depth how I made the cushions and the final product. I have since changed our sette cushions, due to fabric's inability to stay clean, so pick your fabric wisely.

After I have measured and cut the foam, I learned to just put the foam on fabric and outline it. To cut the outline, no seam allowances. This is so different than what a typical seamstress might do, because you always cut with seam allowances, but when working with foam you have to compress it, thus forget any seam allowances. And make sure you know which is top and bottom, especially when there is curves or unevenness, if it is a square then top and bottom doesn't matter. This picture is outlining the top plate (top or bottom piece of fabric, they call this a plate) and the other pictures show another fabric where I used my pencil to outline the foam for plate and the measured the long panels.


  I also measured around the foam for the paneling (the fabric that goes around the cushion, part has a zipper) and I did cut 5 inches in width for 4 inch foam, just habit for me, but next time I will probably cut just 4 inches to make the cushions tighter as mine came out a little wrinkly.


There are two pieces of paneling, one for zipper and one for remainder to go around cushion. I measured the zipper piece first length wise so that the zipper would be at the bottom of the cushion, and 2 inches up on each side, I did give myself extra 1-2 inches just so the panel with zipper was long enough to go down each side. The panel without zipper I measured around foam 2 inches up from one side all the way around to the other side 2 inches from that bottom, and give yourself an extra 1-2 inches, seems like on some cushions I ended up about an inch short for some reason and had to add extra fabric.


After everything was cut, I sewed the zipper panel in preparations to make the zipper. I just folded that piece in half length wise and sewed a loose stitch, because you will sew zipper on this and have to rip that seam. I'll post in Part III how to make zipper and finish the cushion.